What Canon RF-S 18-150mm Filters To Get
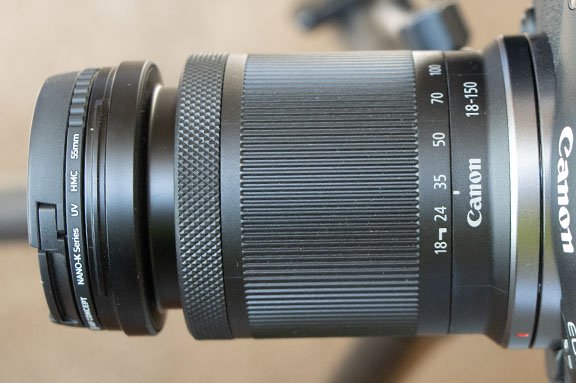 My UV filter for my Canon RF-S 18-150 lens
You already know what's the RF-S 18-150mm lens is good for, but what about improving your photography even more with a couple of useful filters for your Canon RF-S 18-150mm f/3.5-6.3 STM lens?
This post will give you the 2 essentials filters that will make you a better photographer, two filters that will expand your creativity, and the 2 filters that you should stay away from.
The compact design, with its smaller overall diameter gives you a great advantage when it comes to the cost of buying filters for you 18-150 lens. The lens itself is only 69mm wide and the filters only 55mm. That makes them much more affordable than the larger Canon filters for larger lenses.
1. UV Filter
This is the least exciting filter, but for some photographers, the most important. UV filters will have very little, if any, noticeable effect on image quality. Back in the days of film photography, film was more sensitive to the UV (ultra violet) and UV filters would guard against a bluish cast to the photos.
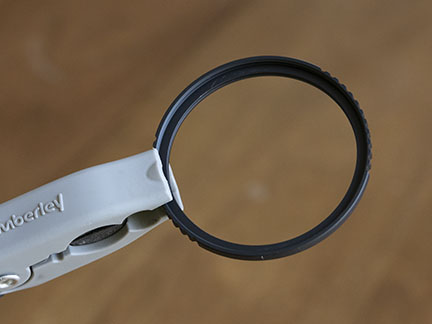 55mm UV lens filter
Nowadays, with digital cameras, it's not an issue. UV filters are now cheap insurance to protect your 18-150mm lens from scratches, dust, smudges and liquids. Depending on your shooting style and the environment you're shooting in, a UV filter will act as a shield against these image degrading risks.
Unlike a lens cap, you can leave the filter screwed onto the front of your lens while shooting your photos. Here's a helpful video on understanding UV filters.
UV filters are the very first lens accessory I buy, without exception, when I am shooting with a new lens. I don't want to run the risk of scratching or fingerprinting my precious and expensive lens due to my clumsiness or carelessness.
There is a small percentage of particular photographers who refuse to use any filter between their lens and their subject. I can't notice any difference in image quality. UV filters only reduce the amount of light hitting your sensor by about .5% and 5%.
2. Circular Polarizing Filter
Circular polarizing filters are the most commonly used filter that photographers use when it comes to enhancing the look of your photographs.
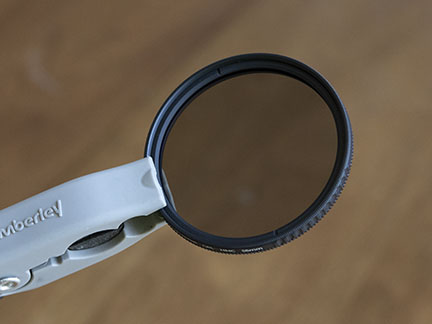 55mm circular polarizing lens filter
Circular polarizing (CP) lens filters reduce the amount of light that strikes the sensor by about 50% to 75% or about 1-2 f/stops. This is not always a bad thing as you 'll see when we go into the advantages of using a neutral density (ND) lens filter in a minute.
See the without versus with a polarizing filter on the RF-S 18-150mm lens comparison below. When you position your cursor over the image you see how the photo came out WITH the polarizing filter attached.
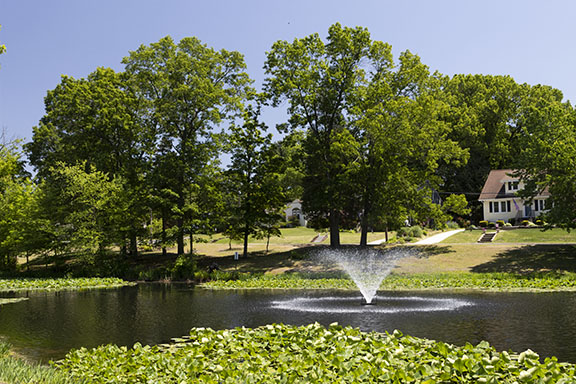
Without and With polarizing filter
CP lens filters have several potential benefits when screwed onto your 18-150mm lens. One of the great things about them is that you can adjust the amount of the effect by rotating the filter while it's attached to your lens. Why use a circular polarizing filter on your lens?
- Polarizing filters can increase contrast and saturation and reduce the hazy look in the atmosphere.
- These filters will reduce glare, haze and reflections from shiny objects, most notably water, glass and other smooth surfaces.
As you can see in the without and with a CPL filter comparison above, landscape photographers love to use them. Skies become darker and more vivid and foliage photographs much better too.
3. Neutral Density Filter
They come as variable as well as different fixed densities. Neutral density (ND) filters can make a dramatic differences in how your photos will appear. They are also the most expensive filter you can buy.
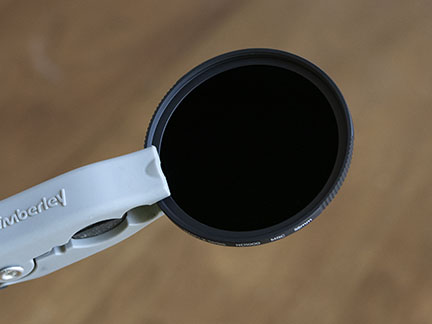 55mm neutral density lens filter
You can have a lot of fun with long exposure photography. This is a way to create the feeling of motion when shooting in bright situations.
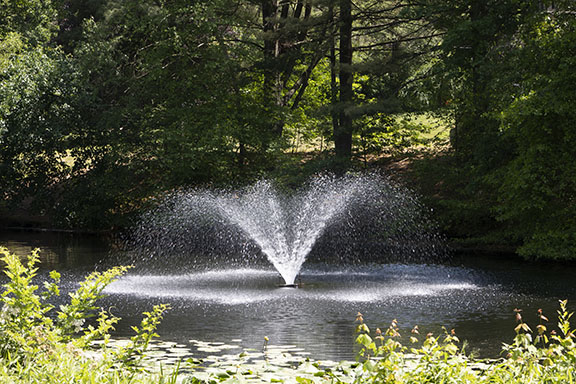
The most popular way to use ND filters is to enable you to shoot photos of moving water with exposures that last several seconds and give you an interesting creamy look to the moving water. Waterfalls are commonly photographed this way.
Scroll your mouse cursor on and off the photo of the fountain below. The "frozen" water fountain photo was taken at 1/125 second. The "creamy" fountain photo was taken with a 10-stop (1000X) neutral density filter that gave me a 4 second exposure.
Pro videographers attach less powerful ND filters to their lenses to enable shooting with wider apertures and slower shutter speeds. That gives you smoother motion and more of a cinematic look.
4. Screw-on Close-up Filter
Screw-on magnifying filters were what I used for shooting close-ups when I first became interested in photography in the 1970s.
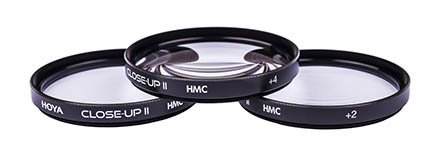 Screw-on close up filters
Screw-on close-up filters are one of the cheapest options out there for macro photography. These filters can turn any lens into a closer-focusing macro-like lens. The RF-S18-150mm f/3.5-6.3 STM lens already focuses quite closely and has a solid macro ratio of .44x. That means close-up filters get you even closer for more magnification.
Image quality isn't as good with a single element magnification lens filter as it is with a well designed lens like the 18-150mm or a dedicated macro lens like the Canon 100mm f/2.8 macro lens. It all depends on how picky you are with image quality.
Additionally, with modern day digital cameras and their high pixel count, you can easily crop your images for a closer look without worrying about pixelation or loss of sharpness.
Filters I don't recommend For Your RF-S 18-150 Lens
There are other filters available for your RF-S 18-150mm lens that can be used for specific effects, but may limit you to an extent with how you can use them.
5. Graduated Filters
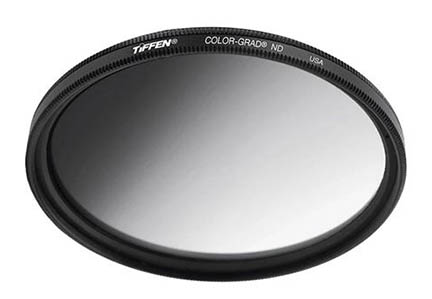 Graduated lens filter
This might ruffle the feathers of graduated filter fans, but I'm not a big fan of using a graduated filter on your RF-S 18-150mm lens.
While it's true that they are great for darkening the sky in high contrast landscape photos, you have to have the right situation in the scene in front of you to have a good match for the location of the gradation on your filter.
You may be forced to adjust your composition of your photo to match the gradation of your filter.
For me, it make more sense to be able to precisely control the location and the degree of darkening (or other adjustment) with software. Instead of the effect being permanently applied, shoot in RAW mode and try a few different versions to get the perfect effect you are looking for.
6. Soft Focus Filters
Likewise, soft focus filters were popular back in the days of film photography. Soft focus filters will "soften" the skin of your portrait photography subject or create a "misty" mood landscape photo.
Rather than be forced to be happy with the amount of soft focus, or be forced to the effect being applied to the whole image, why not add any software selectively to just specific parts of your photo?
Summary
Filters for your Canon 18-150mm lens can give a wide variety of effects on your photos, are easy to attach, and are relatively affordable. Not surprisingly, you get what you pay for when it comes to quality of the results you get when using a lens filter. It all depends on the level you are satisfied with.
Have a blast. Shoot a Canon!


Bruce Lovelace is the publisher of Canon Camera Geek. Read more about him on the About Page. He also publishes how to articles and camera gear reviews at the Photography Tips website.
View some of Bruce's photos on Instagram and Flickr. Join the tribe of followers on YouTube. Bruce also runs photo workshops and provides 1 on 1 digital photography coaching.
As an Amazon affiliate Canon Camera Geek receives a small commission from qualifying purchases, at NO added cost to you.
Recent Articles
-
Canon Camera Guide. Useful Advice on Canon Cameras-Lenses-Accessories
Jan 01, 26 03:43 PM
Helpful advice on Canon Cameras, Canon lenses, and Canon camera accessories. Answers to your questions about Canon equipment. Canon camera equipment guide. -
10 Best Canon G1x Mark II Accessories - Essential Gear For G1X Mark 2
Dec 30, 25 03:59 PM
Make it fun! Upgrade your Canon Powershot Camera experience with the right Canon G1x Mark II Accessories, equipment add-ons. -
The 10 Canon RF 100mm Specs And Features That Matter.
Dec 30, 25 06:49 AM
Is the RF 100mm Macro worth the upgrade? 10 best features that matter the most. Helpful guide to the Canon RF 100mm specs and eatures you need to know about -
Canon RF 100mm Macro Sample Photos. Image Quality + Sharpness Test
Dec 29, 25 02:34 PM
Wondering if the RF 100mm is worth the upgrade? See high-resolution macro samples of insects, flowers, and portraits. Canon RF 100mm Macro Lens Sample Photos, -
Is the Canon G1X Mark II Sensor Still Good in 2026?-Specs & Real Value
Dec 22, 25 12:36 PM
Size matters. The big difference in this high-end point and shoot is the Canon G1X Mark II Sensor


